Sharing Applications
When you create an application in Qrvey Composer, it is (by default) private to your user account. If you need to collaborate with others on the application, use the Sharing feature to enable other users in Qrvey Composer to view and edit the application. You can choose to share the application with everyone in the organization or with specific people. When sharing with specific people, it is recommended that you specify Roles instead of individual user accounts. A Role is typically associated with multiple user accounts, and thus Roles enable you to share the application with a larger number of people. Otherwise, the list is limited to 50 items, which can be either Roles or user accounts.
To Share an Application
Open the Applications page to display the list of applications available to your user account.
Locate the application that you want to share, click its three-dot menu, and click Share. The Share Application dialog displays.
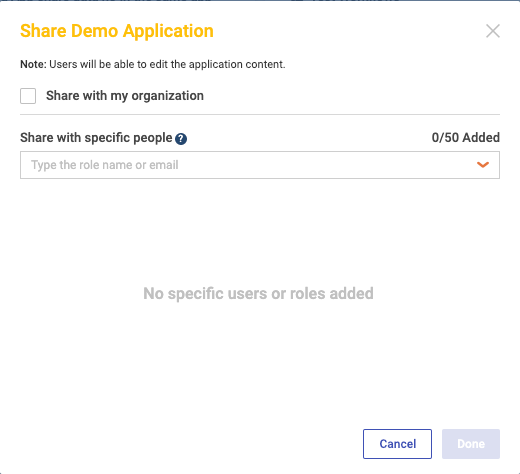
To share the application with all Qrvey Composer users in your organization, select Share with my organization.
To share the application with specific users, under Share with specific people, select or enter their Roles in the list. It is recommended that you specify Roles instead of individual user accounts. Note that you may have to clear the Share with my organization check box to activate these fields.
Click Done.